Liquid Metal Part 2 Electric(ally conductive) Boogaloo - Framework Edition
Table of Contents
Introduction#
New year, new me, new blog topic?
Unfortunately not.
I switched to a Framework 16 after the Zephyrus G15 featured in my previous article fell victim to interrupt storms due to a dying USB-C controller.
It’s a good laptop - outperforms my G15 while exceeding the already-great battery life, and Modern Standby sleep actually works. It’s a little bulkier, but I used to carry around an Asus G750, so the FW16 feels like a netbook in comparison.
It’s also got Framework’s vaunted repairability and module system, which is very handy - the swappable dGPU, tons of USB4, and keyboard module are very appreciated.
Really, the only issue I’ve had with it is that it also uses liquid metal on the CPU, and the application in mine was particularly bad. This appears to be a common enough recurring problem that Framework has updated their liquid metal blog post and are switching future Framework 16 batches to a PTM variant instead, and will be sending out a replacement kit to FW16 users who have liquid metal issues.
In my case, the CPU would thermal throttle anytime it exceeded ~24W of load, well below the continuous 45W or so it’s supposed to be rated for. The fan noise was particularly bad because they’d be pinned to full RPM unless the laptop was in the “Best Power Efficiency” profile, which caps the CPU to ~15W. This reduces CPU performance a fair bit (~12k points in Cinebench R23, only 70% or so of the median R9 7940HS result). Thankfully the GPU was completely fine.
I still had some PTM 7950 leftover from the Zephyrus swap, so I decided to fix the issue rather than RMA the laptop and just have it happen again - this was back in November, before Framework announced the replacement kits would be coming. I’m writing this post to help those who are considering doing the swap themselves, since the official Framework LM swap instructions haven’t been published yet.
Disassembly#
Note: I strongly recommend using Framework’s official mainboard replacement guide to get to the point where you can disassemble the heatsink. It’s easy and fast, but a couple of steps (notably the BIOS battery disconnect and removing the I/O expansion cards before everything else is disassembled) do need to be done in order.
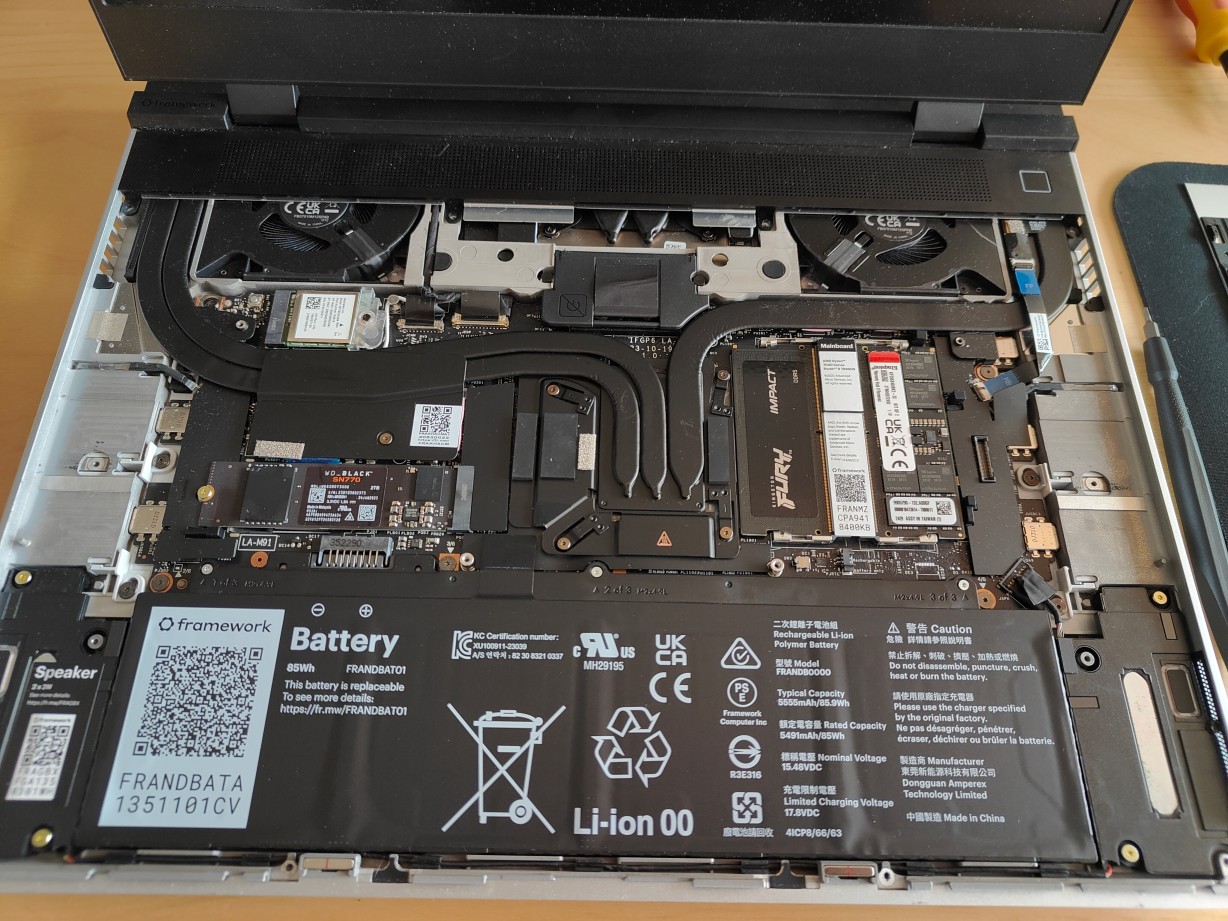
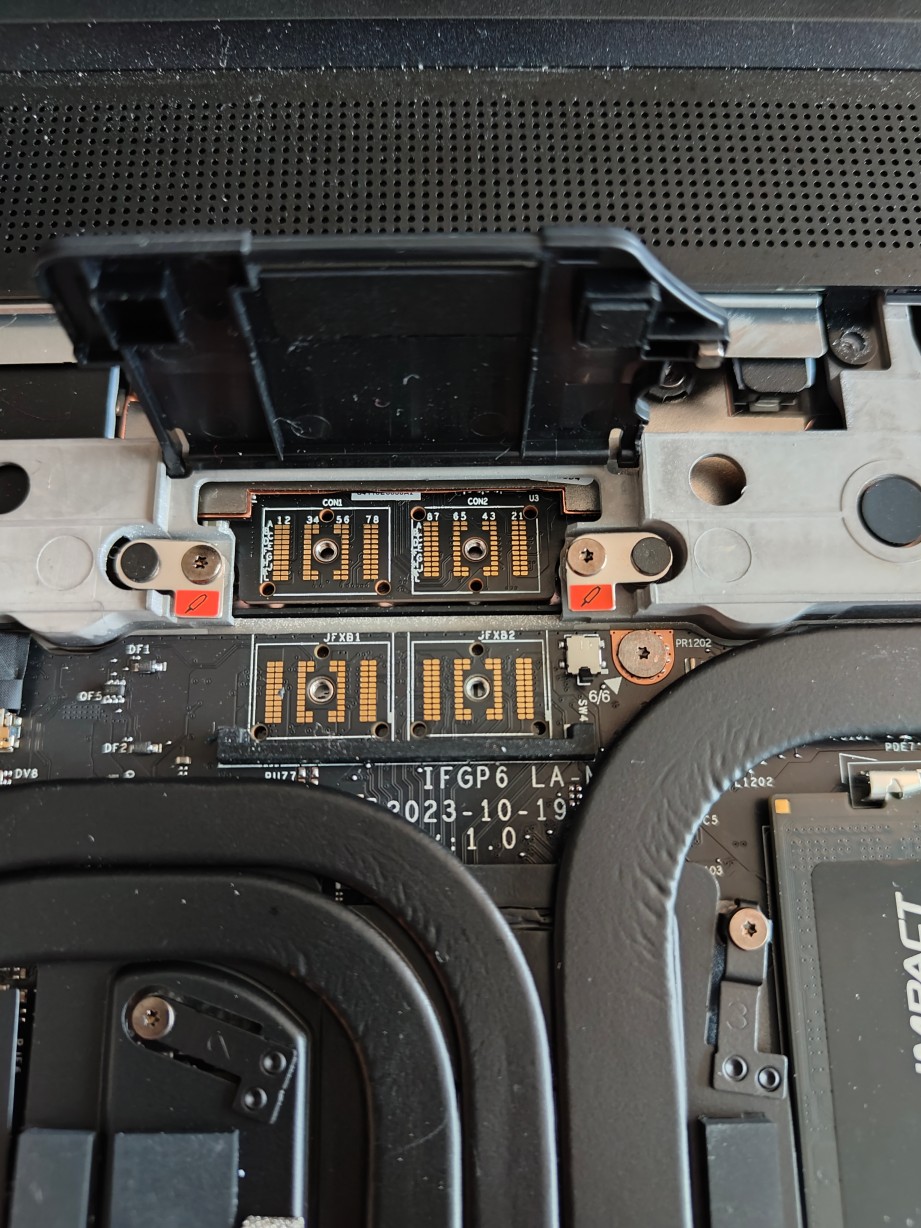
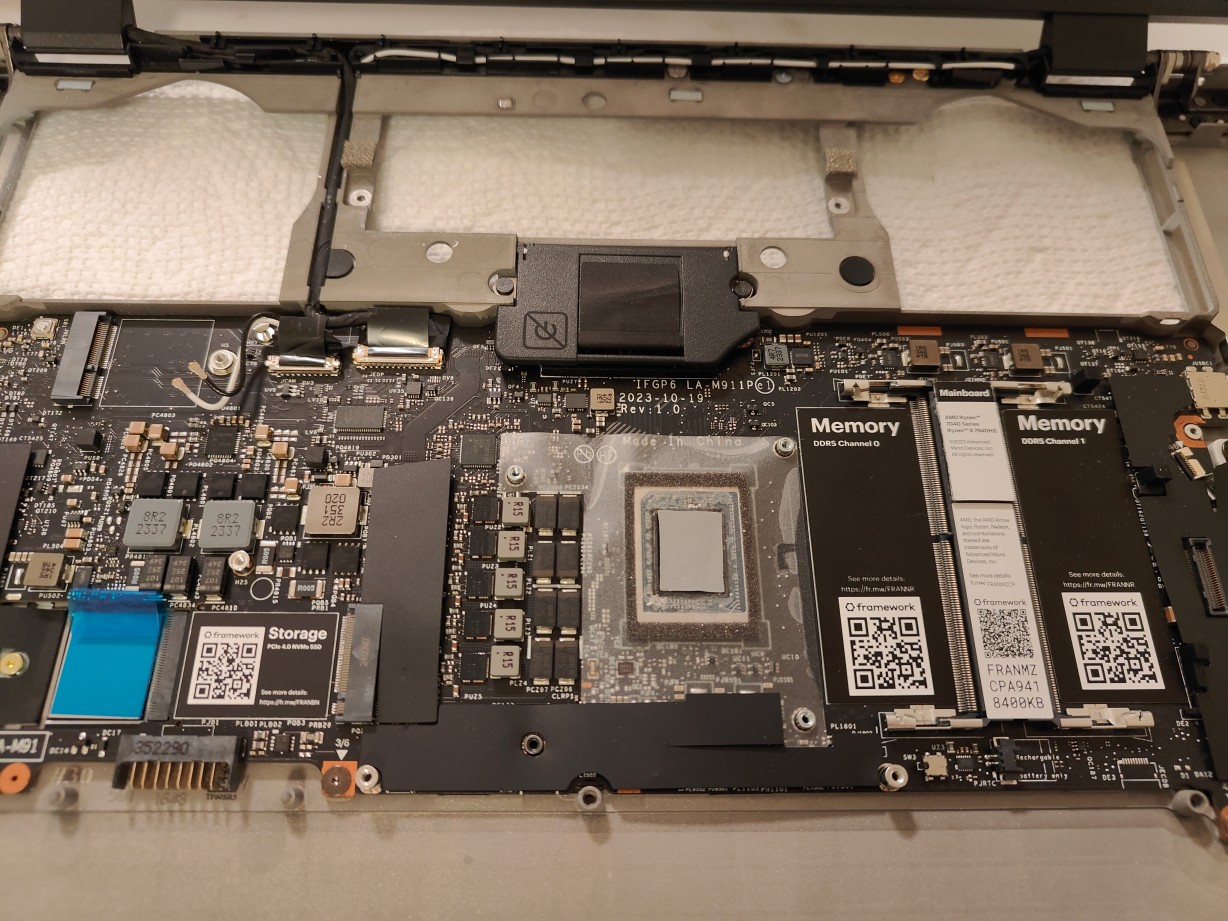
A neat byproduct of the modular GPU design is that the CPU and GPU use fully separate heatsinks, unlike most other CPU+dGPU laptops. The fans are shared, but the CPU exhausts only from the sides (you can see the heatpipes curving away from the SoC on both sides above), and the GPU only from the back of the laptop (the heatpipes for the GPU actually poke out just above the interposer, above the SoC heatpipes and below what Framework calls the ventilation plate). This is much easier to deal with than the maze of shared heatpipes and wires that the G15 had, but it does mean that the CPU and GPU cannot share thermal capacity. In the Zephyrus, the CPU cooling was sufficient to sustain 65+ W of continuous load in a smaller and lighter machine, but Framework only rates their solution for 45W continuous. There’s also less thermal mass available for passive cooling (i.e. less headroom to run with the fans off), though in practice the fans have never kicked on even with medium desktop use, meaning no dGPU or sustained multicore loads, even when charging.

I also took the opportunity to swap the MediaTek/AMD RZ616 Wifi card for the Intel AX210 that was in my Zephyrus G15. The RZ616 performed quite well and was stable on WiFi, but I had Bluetooth issues that went away when switching back to the AX210. Hopefully the RZ616 gets some firmware fixes later down the line.
To get to the extremities of the CPU heatpipes, where the actual heatsinks are, we have to take off the ventilation midplate, which requires taking the dGPU module out and disconnecting the fingerprint reader. Framework’s repair guide does a good job of showing all the steps and screws/unscrews required, so I’m not going to repeat everything here. The process does give us a great look at the interposer and the dGPU module.
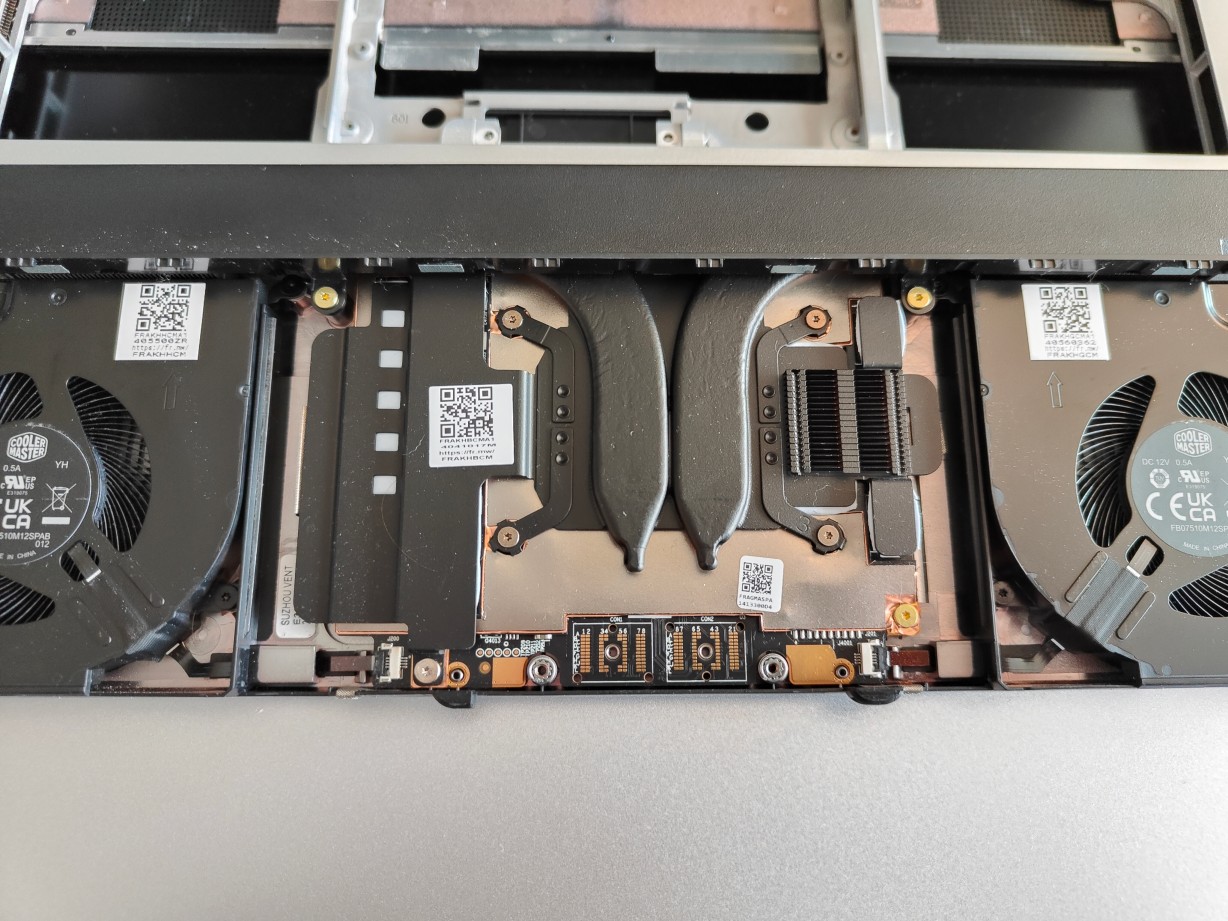
Under that heatsink is a re-badged and slightly downclocked RX 7600. I’ve found that the Framework 16 actually performs better than the R9 5900HS + RTX 3070 80W combo in my old G15. I don’t know how much of that is due to the full-wattage 7700S beating the choked 3070 and how much is the Zen 4 R9 just bullying its Zen 3 predecessor.
LM removal#
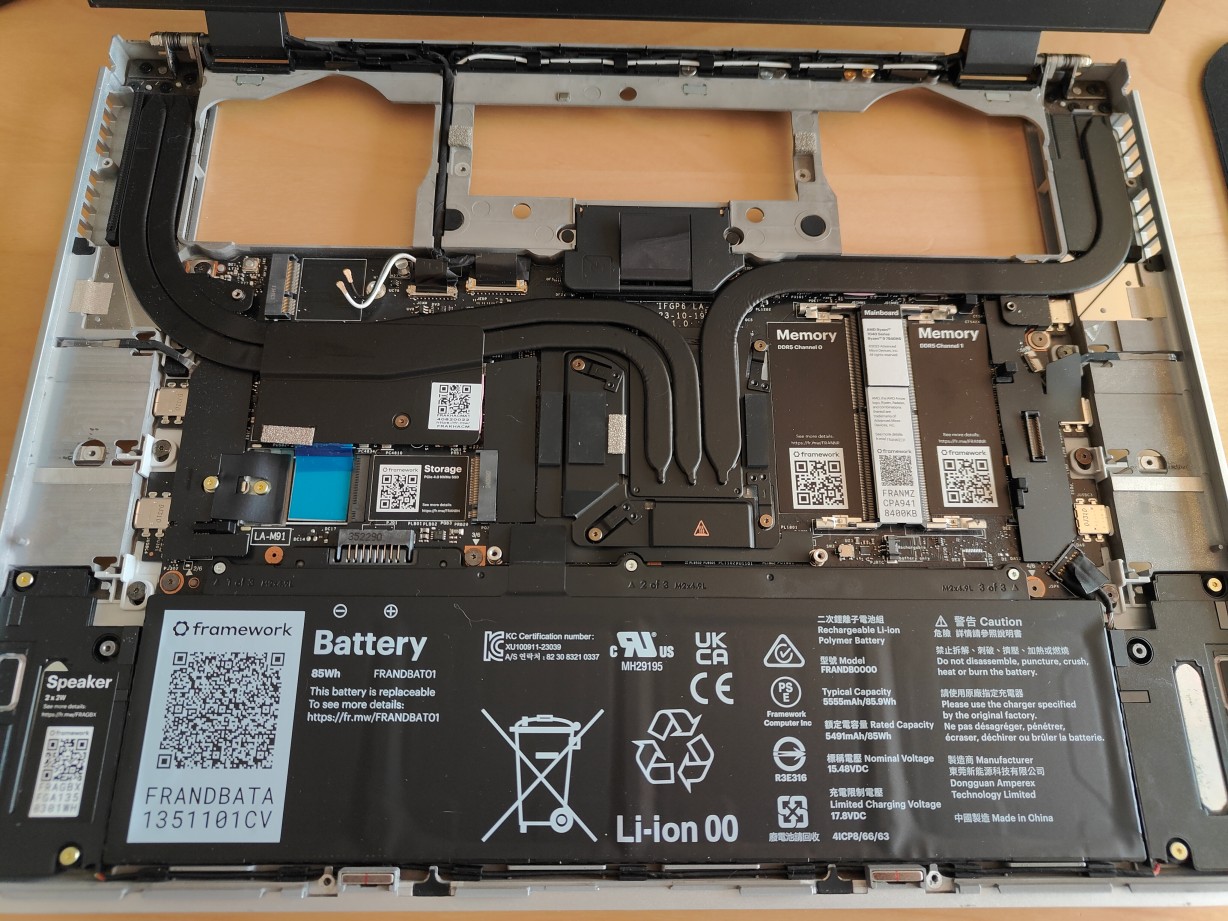
Now we can remove the heatsink. Every single screw in the FW16 is captive, which is a lifesaver. The pressure plate screws are no exception, and they use the same Torx bit size as the rest of the machine. Note that the pressure plate screws are ordered, and that there are two screws, one near each bend, that join the heatpipes to the motherboard. This is the trickiest part of the process, because Framework uses a liquid metal compound that is solid at room temperature. You can run a CPU-heavy workload just before disassembly, or you can use a gentle source of heat (e.g. the bottom of a mug of hot water) applied directly to the SoC heatpipe assembly to try and loosen it, or you can just do what I did and very carefully use plastic tools to pry the heatsink from the board (the Framework screwdriver works well).
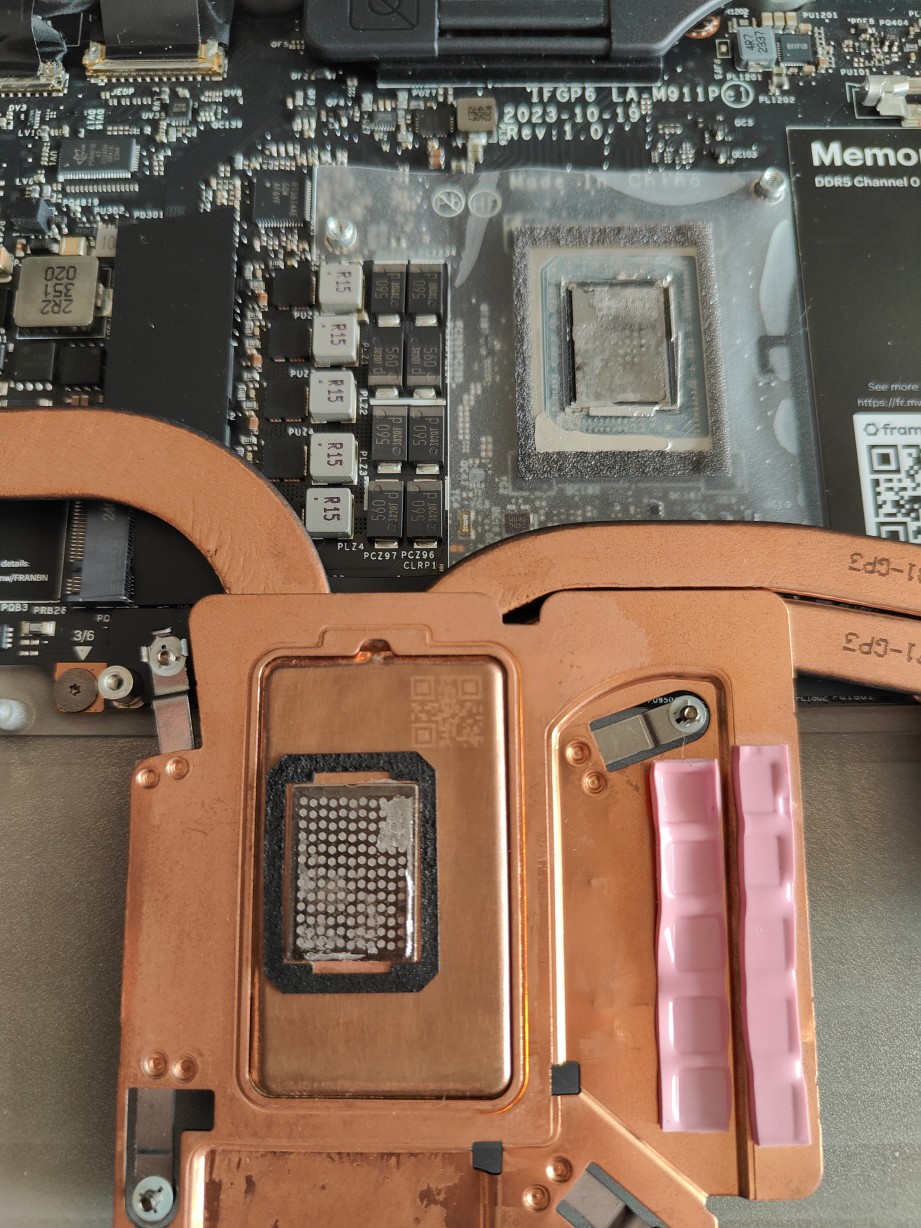
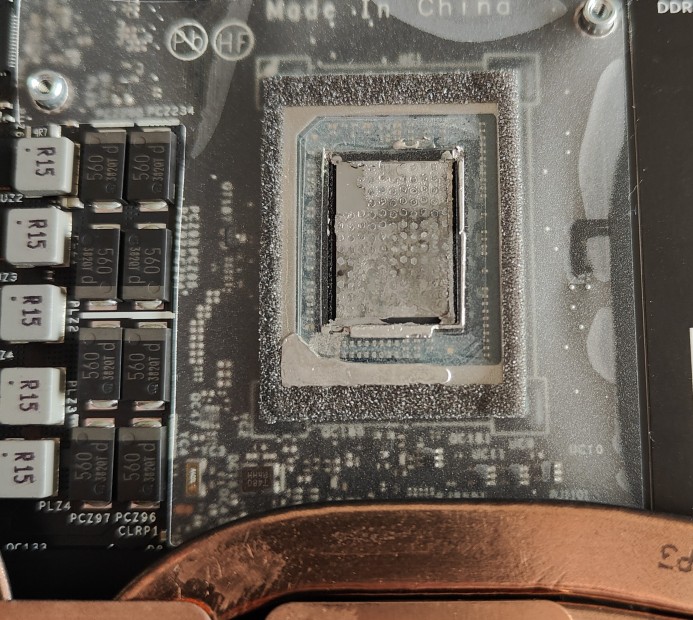
Like last time, we can see that a large amount of the liquid metal has seeped out. The pressure plate has the same little bumps that were reported on the Framework forums. These are strangely absent from the FW16 heatsink on Framework’s parts store. I think they’re the “etched pattern in the surface of the vapor chamber” that Framework refers to in their LM blog post, which is supposed to help keep the LM in place using surface tension. It seems like it’s done a pretty poor job here.
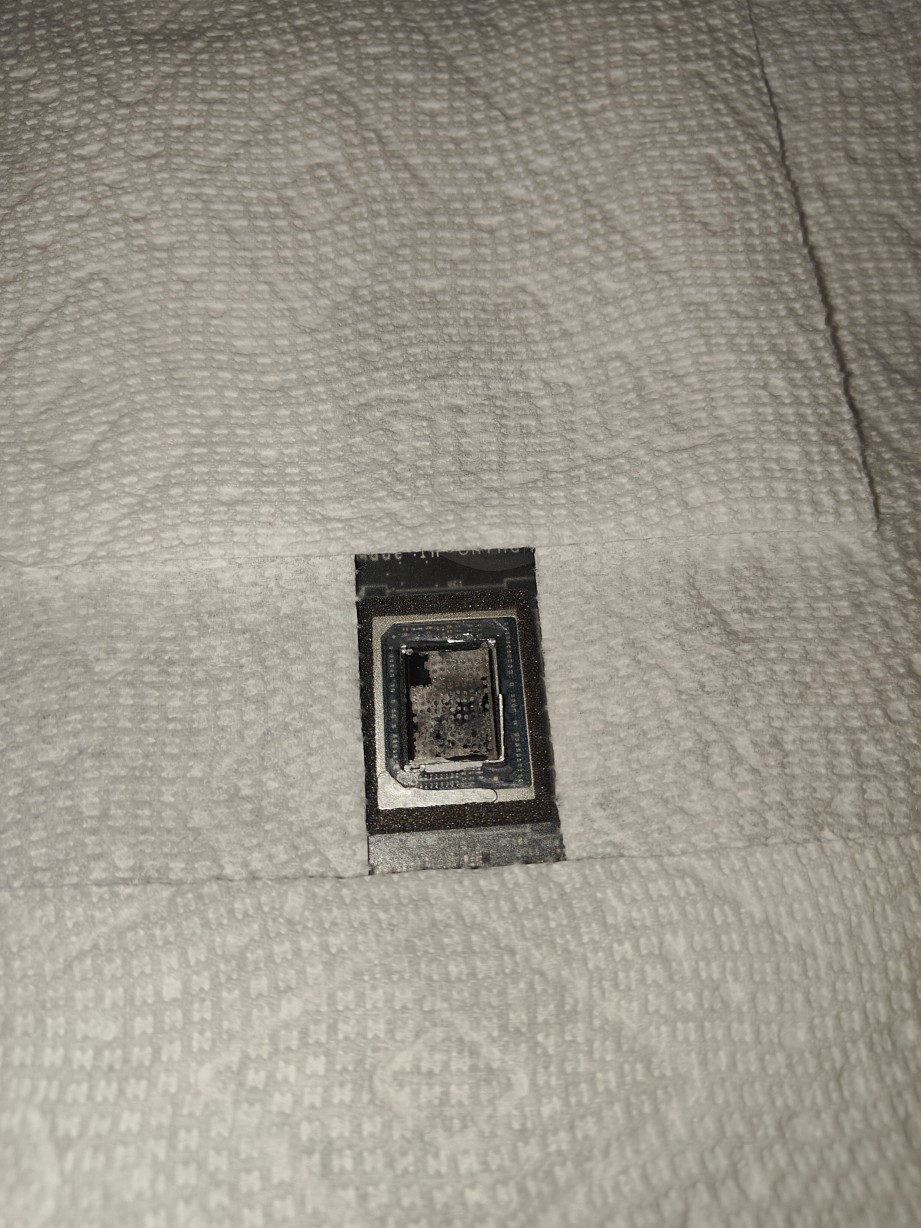
Now the surgery begins. Scraping the pressure plate with paper towels and the plastic end of the Framework screwdriver removed all the liquid metal chunks from it. The silicon die is a little trickier to work with.
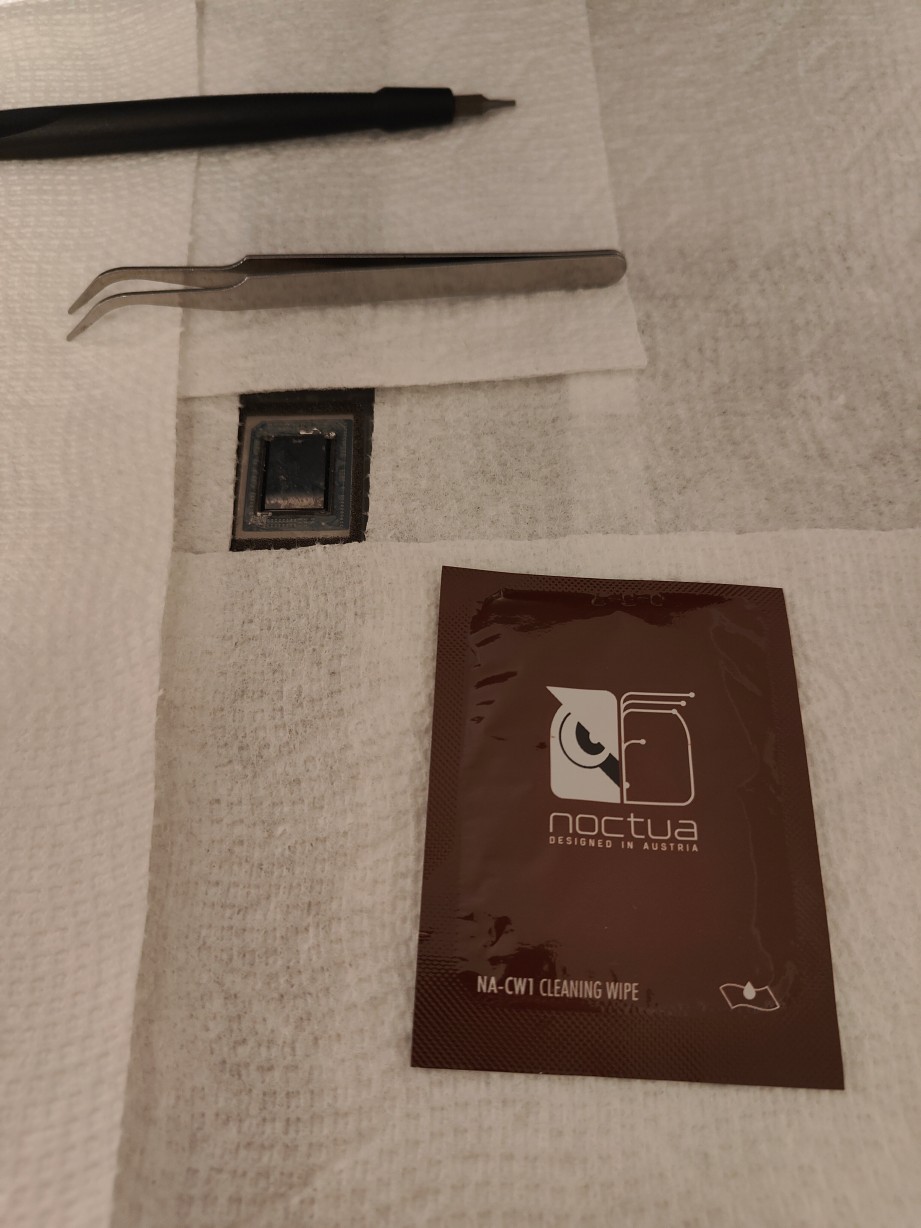
Thankfully the cold LM is solid enough that the bigger chunks can just be removed with careful use of tweezers and liberal application of isopropyl alcohol. Do not scrape the silicon die with metal, use plastic tools instead. Noctua’s alcohol wipes work wonders here.
Some of the LM seems to be stuck to the transluscent insulator layer that covers the SMD components around the main die, but those bits shouldn’t go anywhere and are probably safe to leave in, even if they liquefy again.
PTM 7950 application#
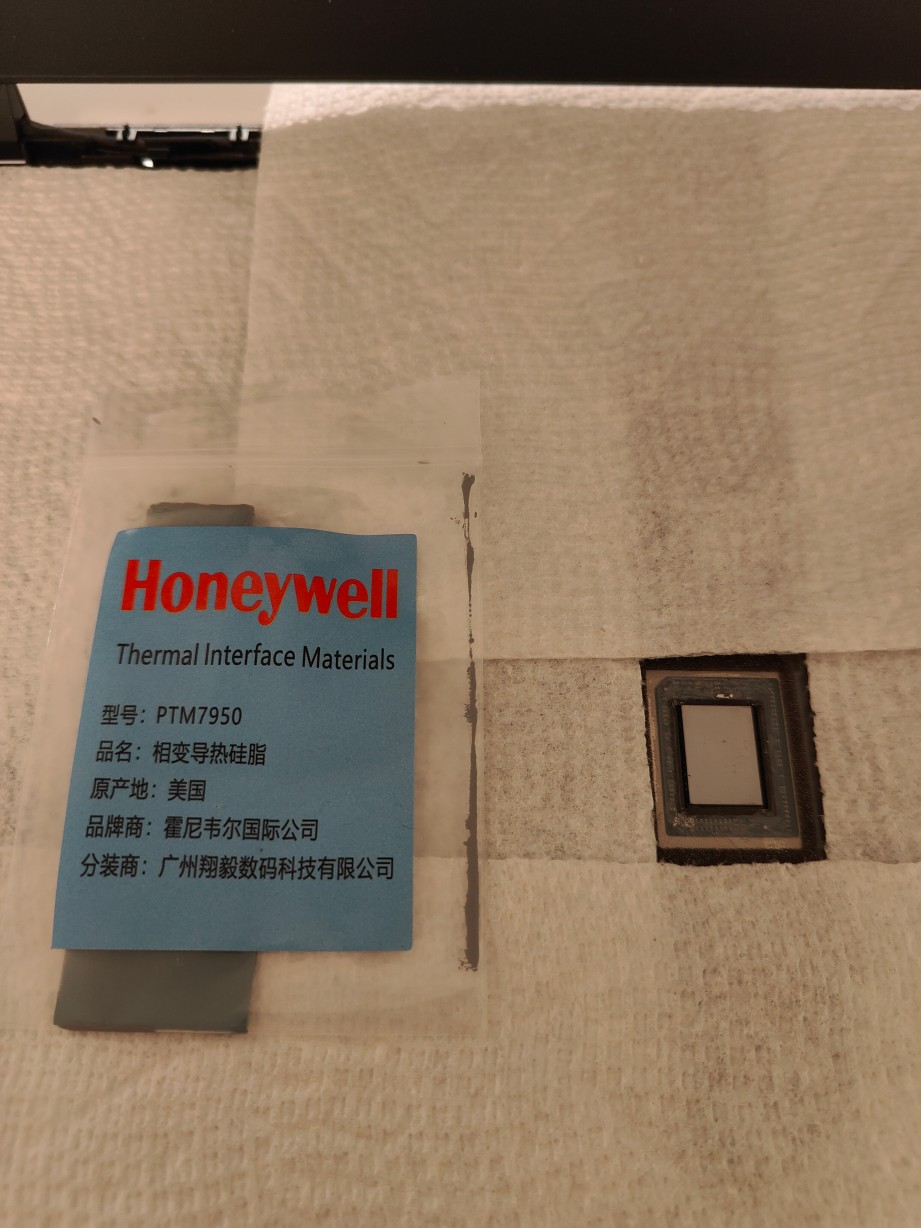
The application process is identical to last time - cut the PTM 7950 to size (make sure to cover the silicon die fully), remove the protective plastic layers on both sides, and carefully lay it down on the chip. It might be easier to only remove the bottom plastic layer before application and carefully pry the upper layer once the PTM is on the die. As mentioned in my previous post, PTM 7950 is significantly easier to handle and apply if left in the freezer for 5-10m.
We can now reassemble the laptop and test it. PTM 7950 supposedly needs a few thermal cycles to settle in properly - make sure the laptop is horizontal while you do that if you use a vertical stand. If your laptop doesn’t turn back on at this point, remember that the BIOS battery disconnect will prevent any power from reaching the board until a charger is plugged back in.
Final Words#
Reassembly was very straightforward, just perform the above steps in reverse. The Framework 16 has more screws than the average laptop, but it all comes back together easily.
When firing up Cinebench R23, the CPU package power instantly shot to 70W, and stabilized around 54W for the rest of the 10m run - more than double the power draw it could reach before. The core temperatures still hit close to 100C, and there’s still a large temperature delta between cores 3/5 and core 0, but the laptop does not thermal throttle. It’s now operating as intended, and the poor fans are much quieter even when the system is sitting under load.

The final score ended up being nearly identical to that of a first generation 16-core Threadripper - not bad for an 8-core laptop chip. This result is much closer to the expected performance of a 7940HS.

This Cinebench run was performed right after putting the laptop back together. At the time of writing, two months later, the performance is unchanged, as far as I can tell. The PTM 7950 seems to be holding up well.
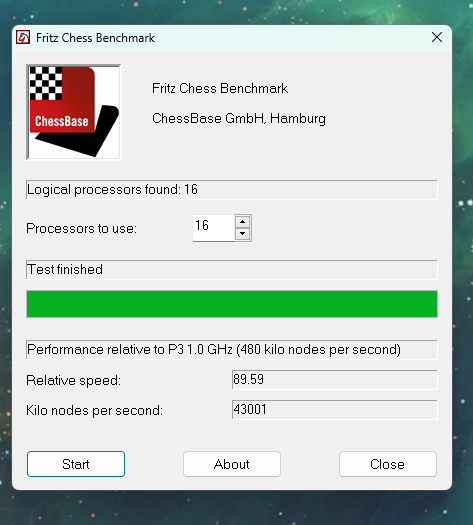
For fun, I ran the Fritz test benchmark, which caps out at 16 threads. The 7940HS in the Framework 16 actually placed incredibly well, holding a sustained 54W, beating desktop CPUs like an Alder Lake i9-12900K and a Ryzen 9 7900X, and being neck and neck with an i7-14700KF in the rankings. My submission is still in the table - Zen 4 seems to scale incredibly well when limited to mobile power budgets (though the Fritz benchmark is hardly a representative workload).
It’ll be interesting to see if the FW16 batches that use PTM from the factory use a different pressure plate design, maybe one without the bumbs - if so, I’ll probably order one and test to see if it makes a performance difference. One day I’d like to see the Framework 16 be able to hit higher power levels for the CPU. The 2023 Zephyrus G14 can hit ~80W sustained and 18k Cinebench R23 points with the same Ryzen 9 7940HS, though perhaps 80W is a tad excessive for only a 10% score increase. For now though, this is more than useable performance, and I’d like to see better GPUs (especially ones with more VRAM, 8GB is quite limiting these days) before anything else.
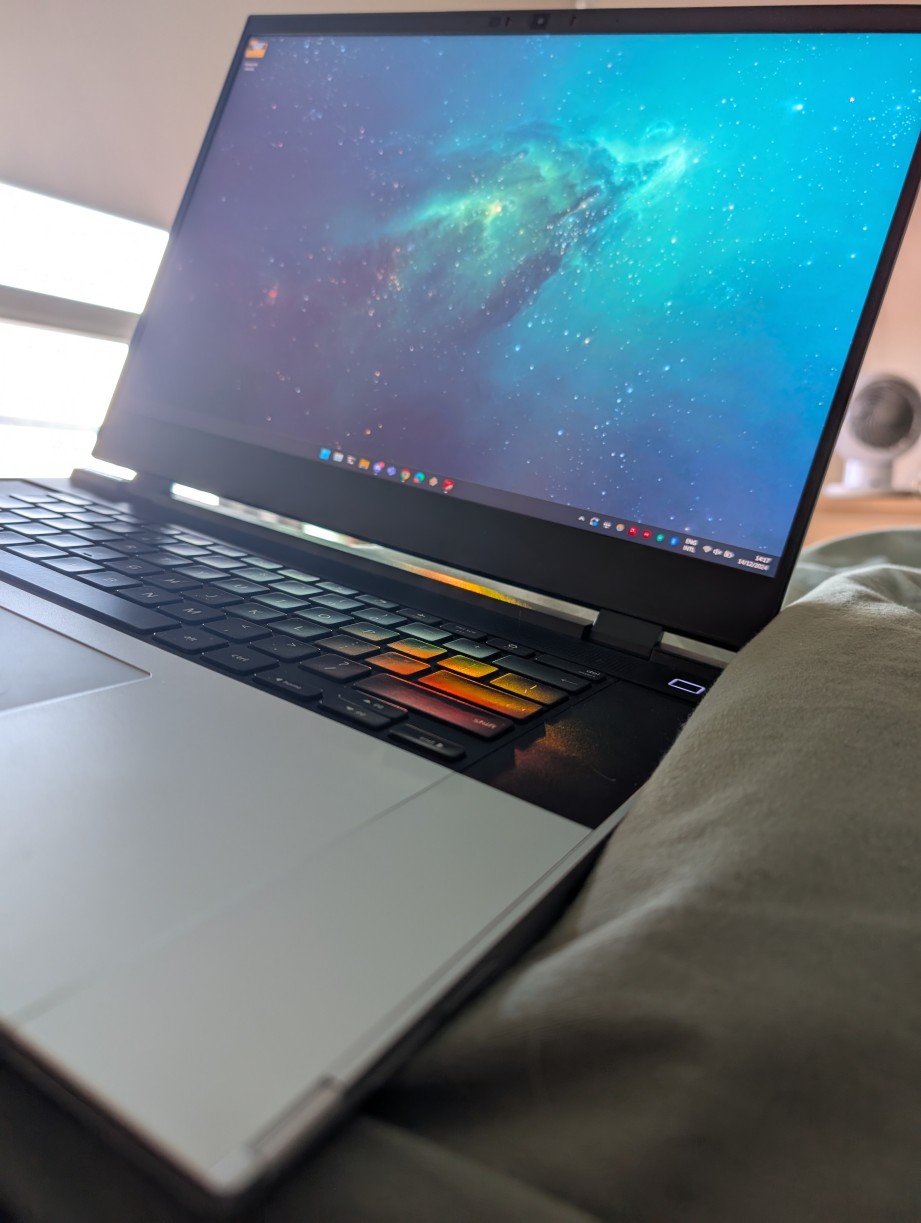
Overall, I’m happy with how this swap turned out - the Framework 16 should hopefully last me a long time.
